Installation
1. Gemini CLI Installation
Before you do the setup and run Gemini CLI, let us create a folder that you will be using as our home folder for all the projects that you may create inside of it. This is a starting point for the Gemini CLI to work with, though it will also reference some other folders on your system and which you will come to later, as needed.
Go ahead and create a sample folder (gemini-cli-projects) and navigate to that via the commands shown below. If you prefer to use some other folder name, please do so.
Let's navigate to that folder:
Note: If you are using Google Cloud Shell, the Gemini CLI is already installed. You can directly launch Gemini CLI via the gemini command. Please navigate directly to the next section (Gemini CLI configuration via settings.json).
If you want to install Gemini CLI locally, follow the instructions given below.
Install Node 20 +
The first step is to install Node 20+ on your machine. Once this is complete, you can install and run Gemini CLI via any one of the following methods:
Install Gemini CLI
You can install Gemini CLI globally on your system first. You may need Administrator access to perform this step.
Run instantly with npx
Install globally with npm
Login with Google (OAuth login using your Google Account)
✨ Important step: For anyone who has a Gemini Code Assist License, make sure project with licenses is set
Option 1: Local variable
Option 2: Set a persistent environment variable in your bash or zshrc shell:
Note: Make sure update "YOUR_PROJECT_NAME" wit project with Gemini Code Assist License.
Option 1. local Environment variable
Option 2. Set a persistent environment variable on Windows using the System Properties (sysdm.cpl) GUI
- Press Win + R to open the "Run" dialog box.
- Type sysdm.cpl and press Enter. This will open the "System Properties" window.
- Navigate to the "Advanced" tab.
- Click on the "Environment Variables..." button.
- In the "User variables" section at the top, click the "New..." button.
- In the "New User Variable" dialog:
  - For Variable name, enter: GOOGLE_CLOUD_PROJECT
  - For Variable value, enter your actual Google Cloud project name (e.g., my-gcp-project).
- Click "OK" to close the "New User Variable" dialog.
You can confirm the CLI is installed by running:
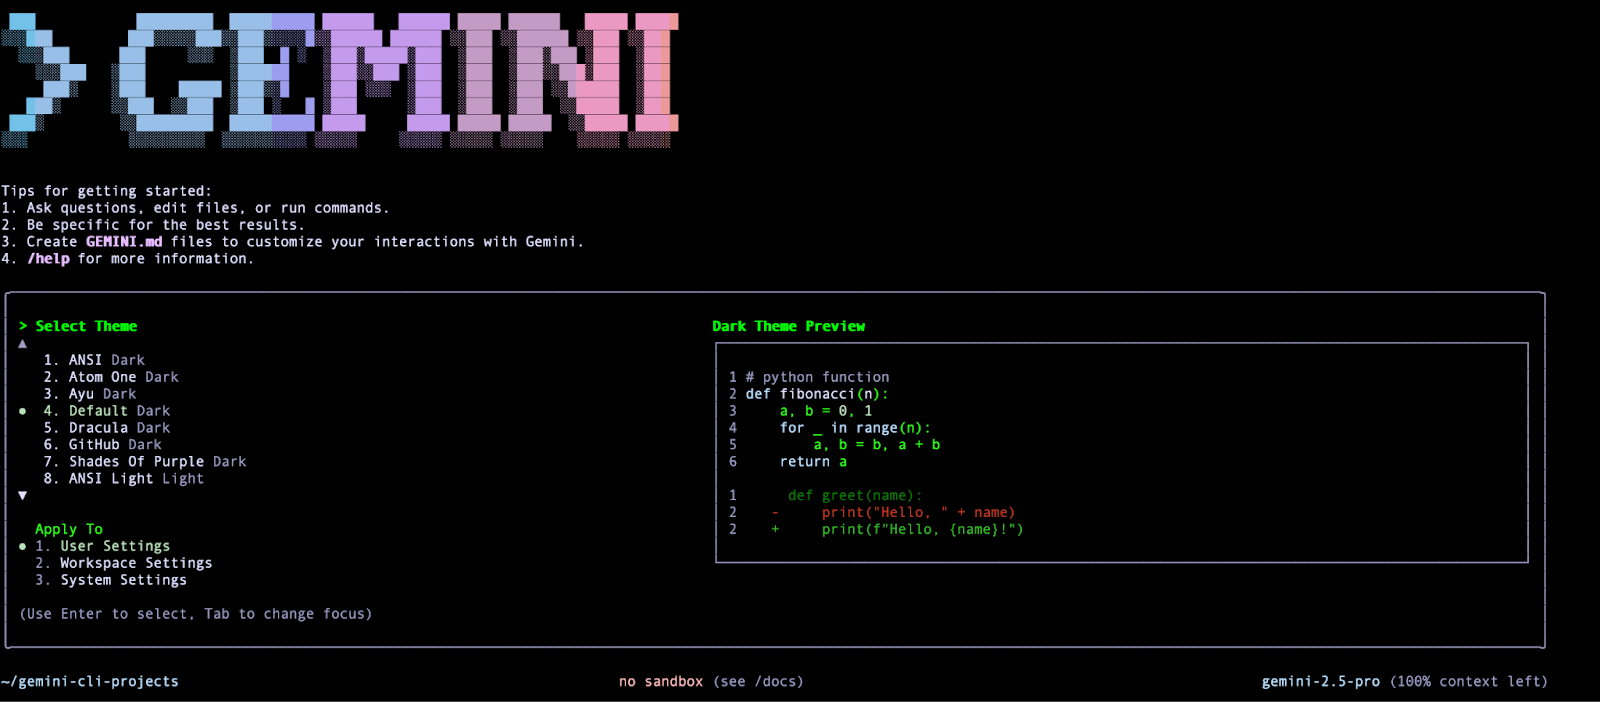
Assuming that you have launched Gemini CLI first time you should see the following screen that asks you about choosing a a theme. Go ahead and select one that you like:
Once you select that, it will ask for the Authentication method. If you are using Gemini Code Assist License, it is recommended that you use
1. Login with Google.
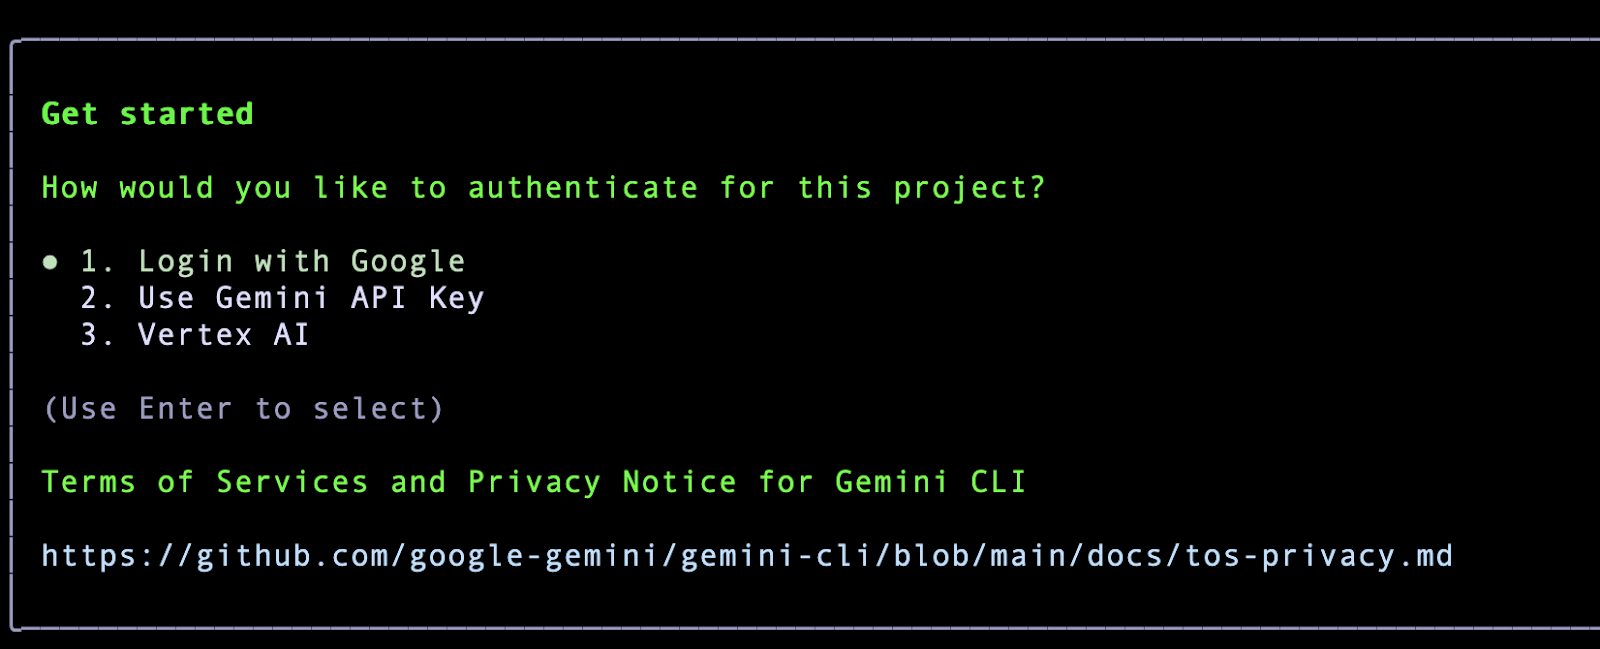
Go ahead and click on Enter. This will open up a Google Authentication page in the browser. Go ahead with the authentication with your Google Account, accept the terms and once you are successfully authenticated, you will notice that the Gemini CLI is ready and waiting for your command. A sample screenshot is given below:

First interaction with Gemini CLI
Let's get started with Gemini CLI and type your first query as shown below:
The expected response is shown below:
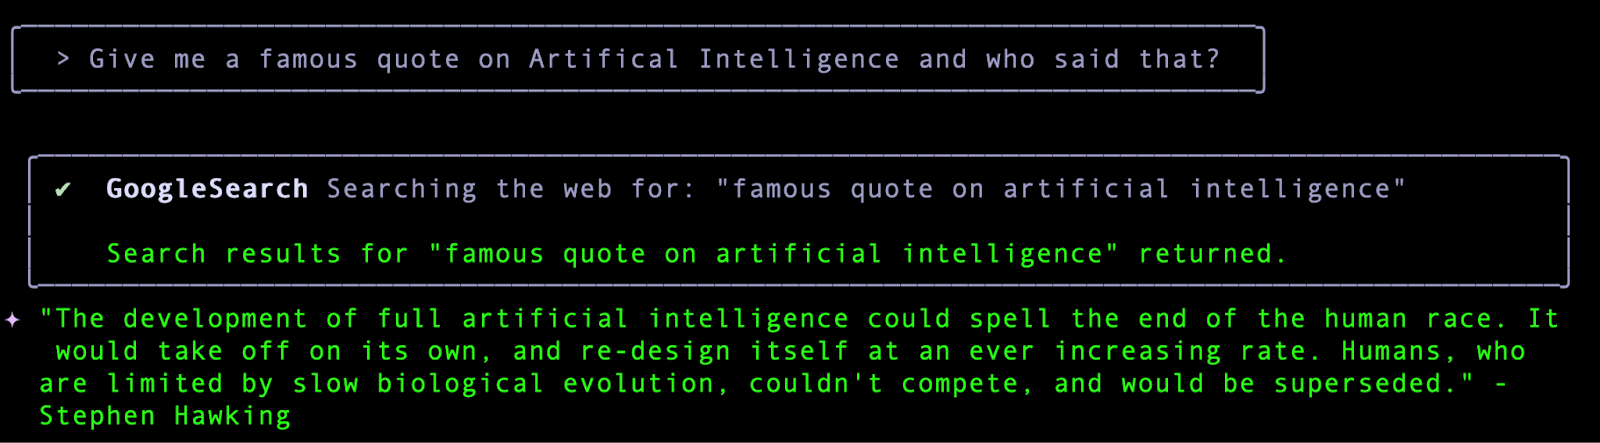
You will notice that our query resulted in a GoogleSearch tool (an in-built tool in Gemini CLI) that got invoked. In other words, you have already exercised one of Gemini CLI's powerful in-built tools namely GoogleSearch that grounds its responses based on information that it gets from the web. You will learn more about Tools in the next section.
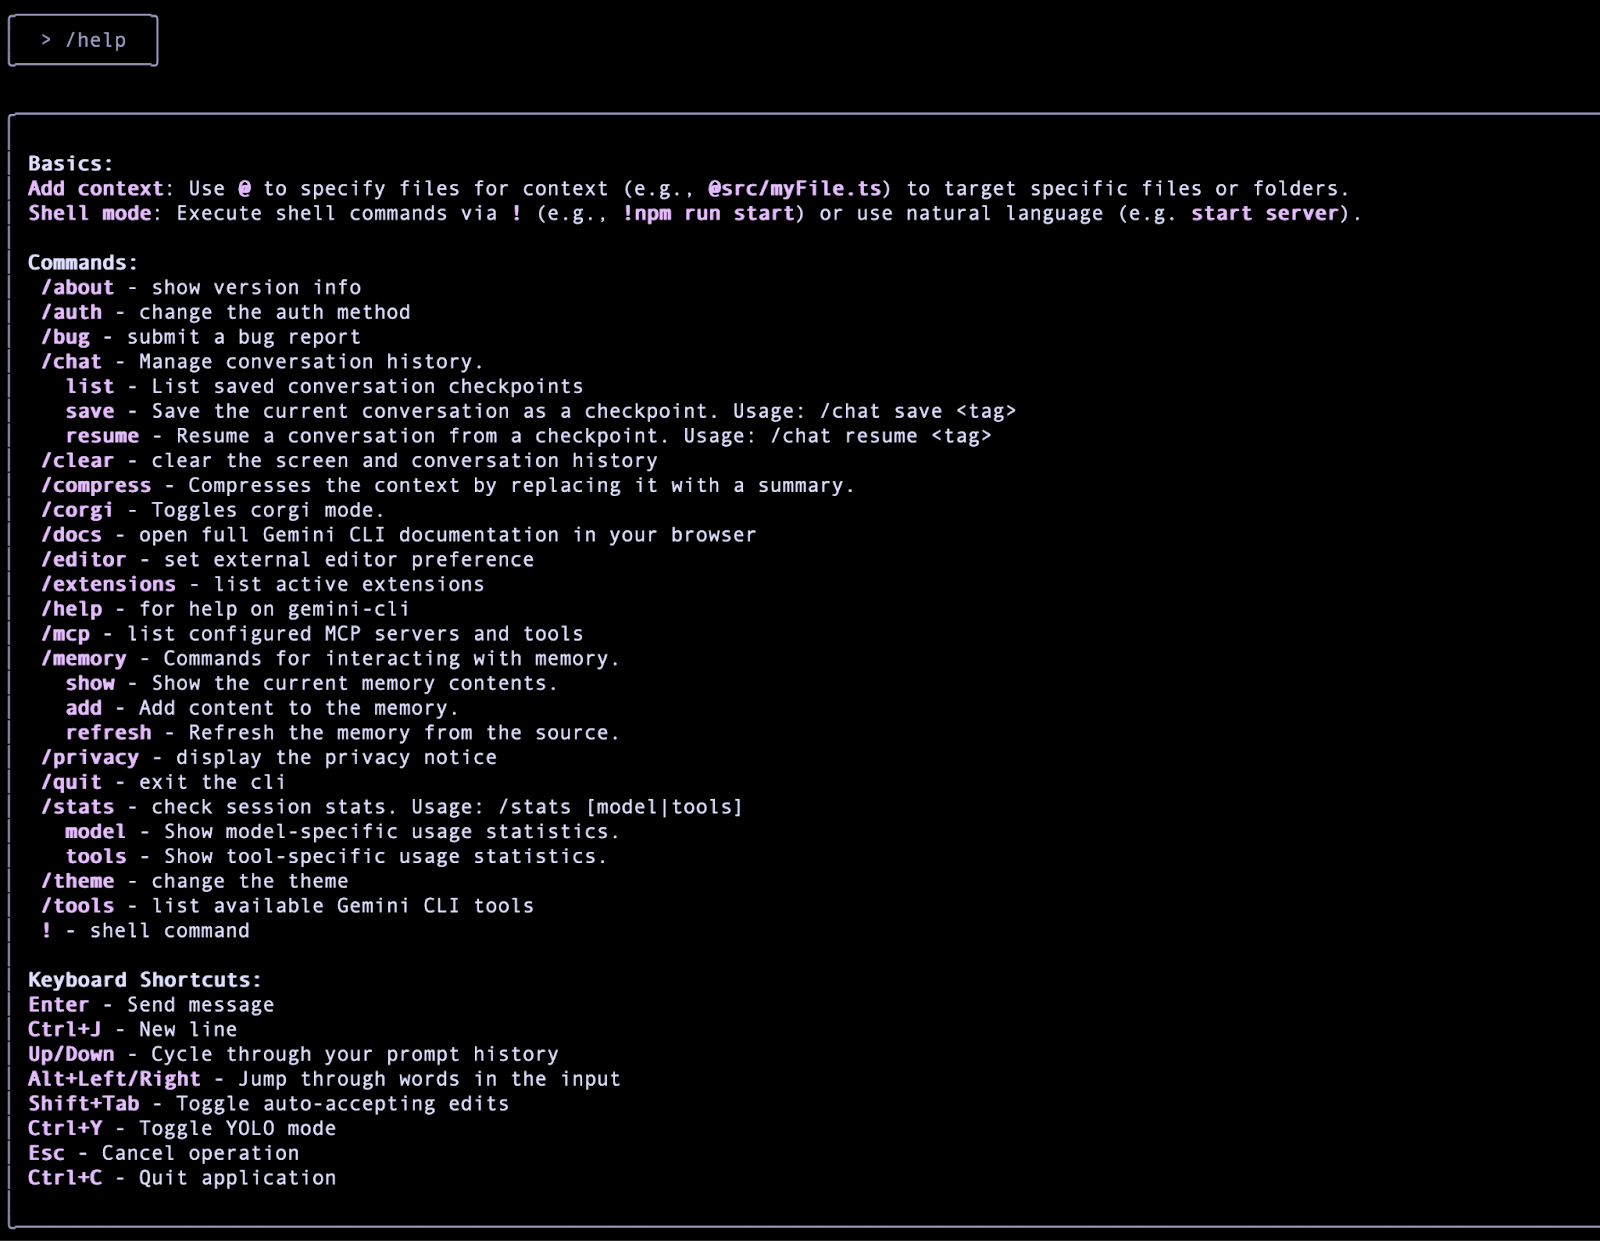
A quick way to understand Gemini CLI and the various commands that it supports is to type /help (forward slash) and you will see a variety of commands and keyboard shortcuts as shown below:
Let's quit Gemini CLI for now. You can do that either via the /quit command or you can do Ctrl-C twice in the interactive Gemini CLI terminal session.